
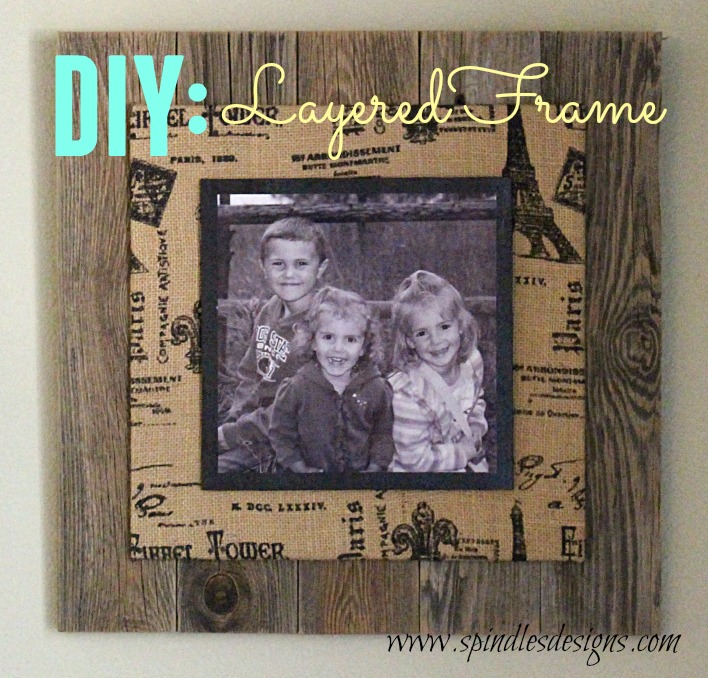
I saw a version of this layered framing idea in a gift shop sometime ago and thought it would be a fun way to frame a cute photo of Margaret’s children that I took while camping last summer.
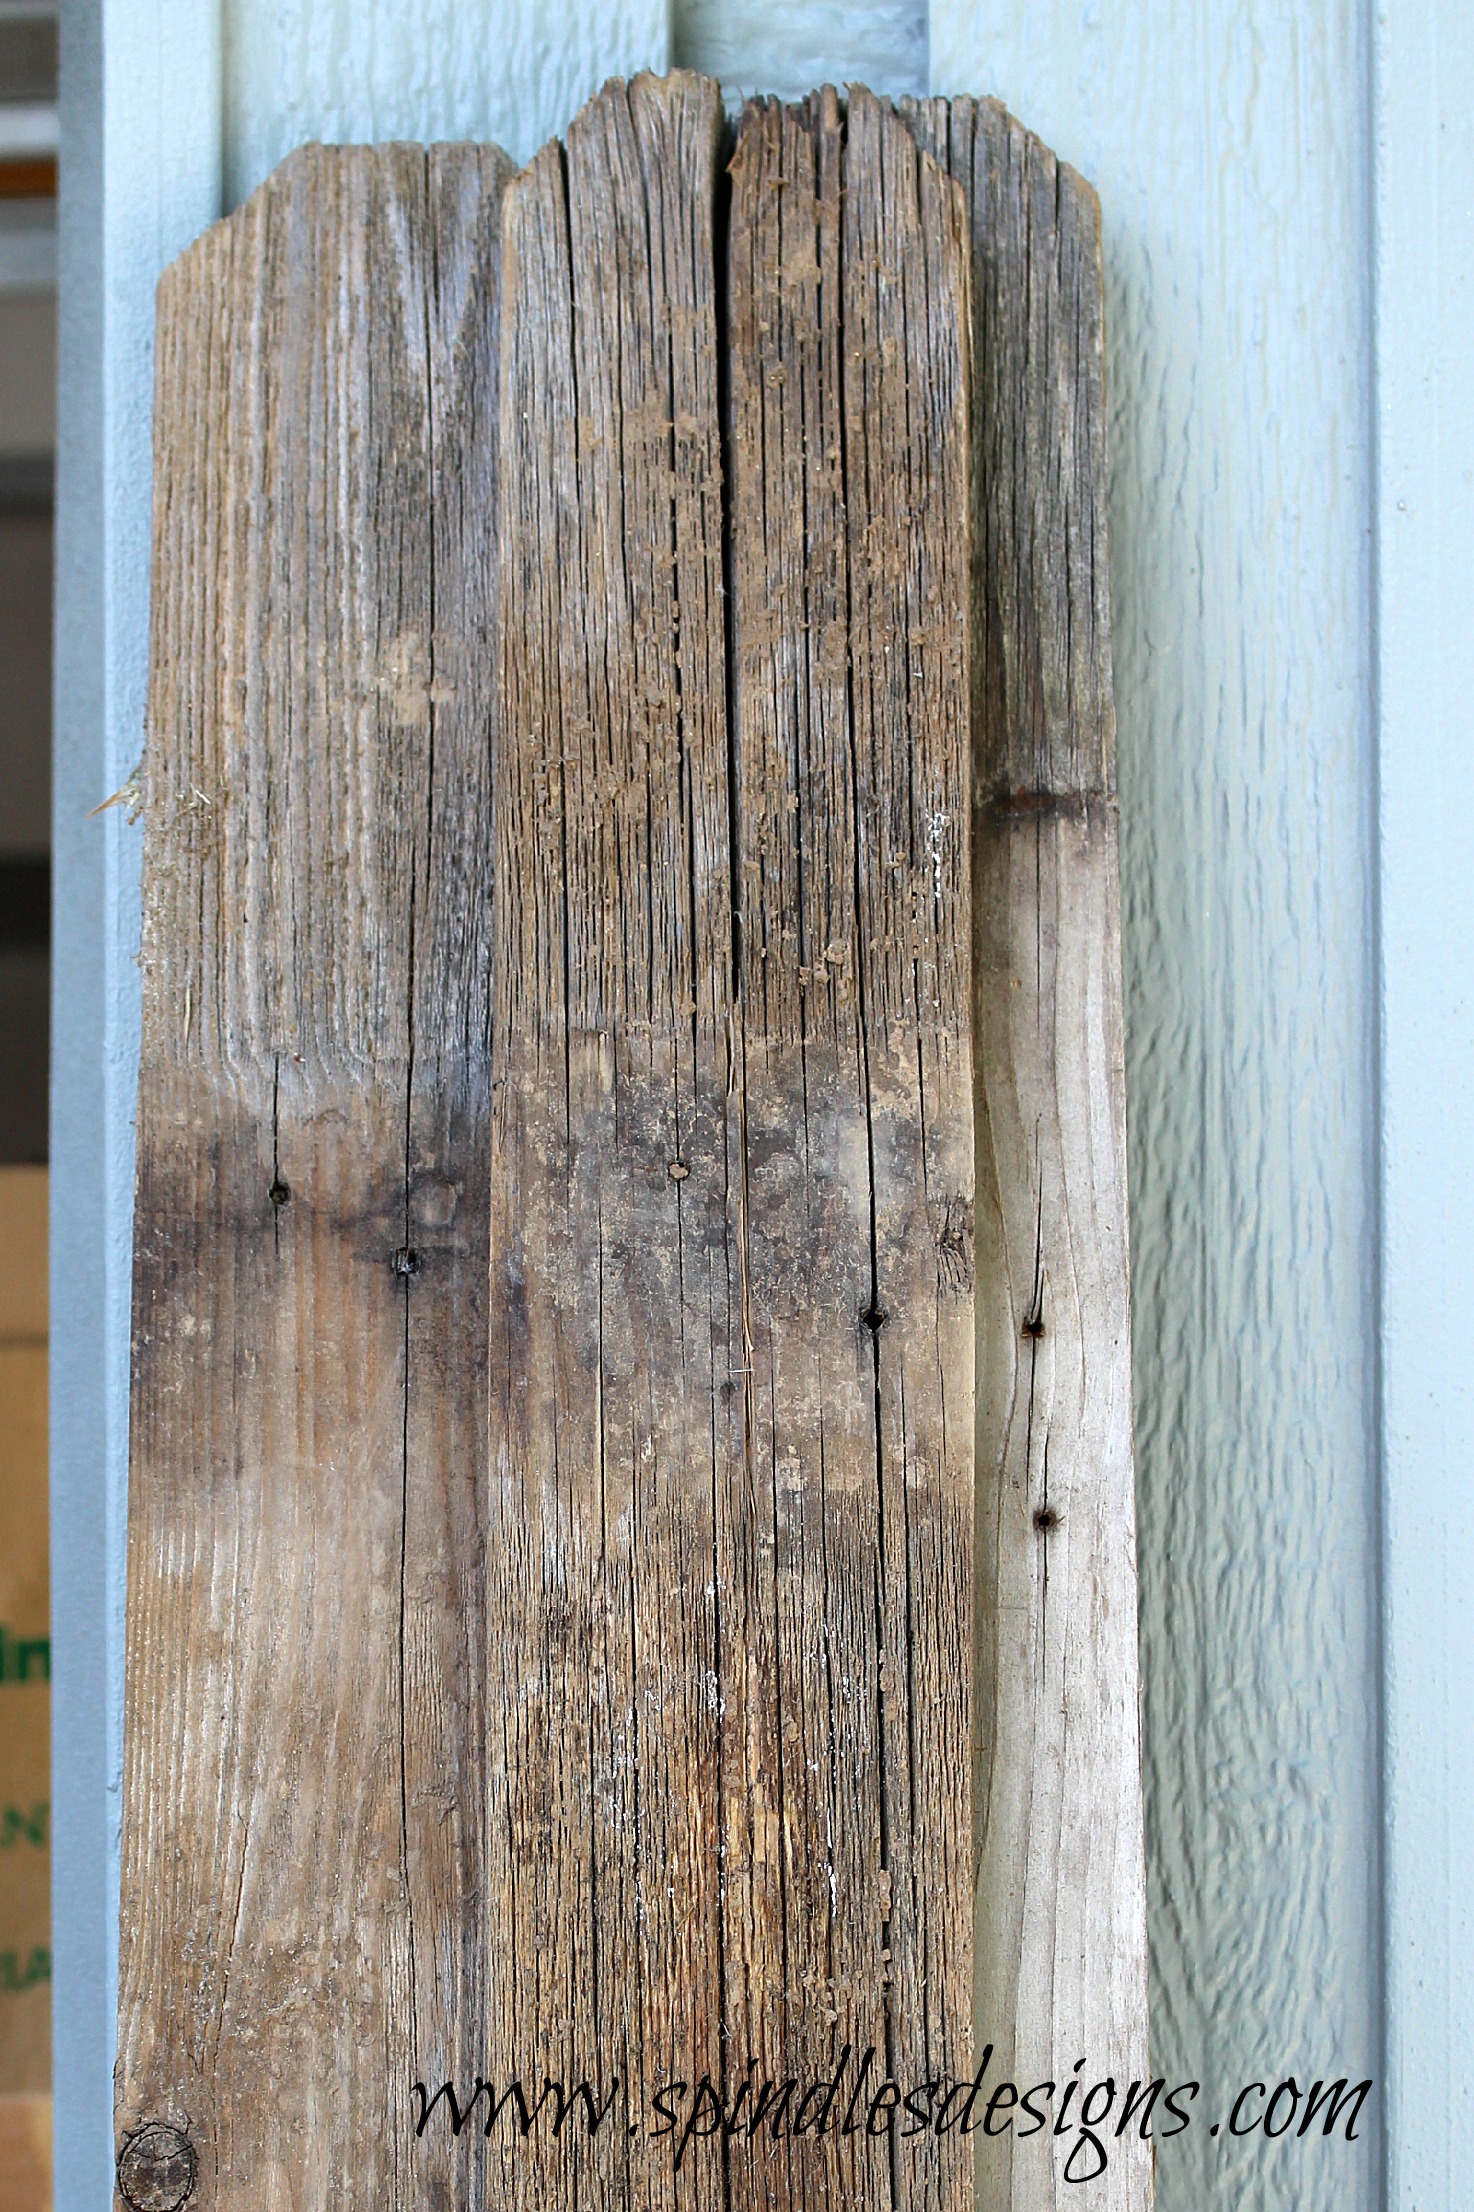
I love the old wood look and Margaret just happened to have some old broken pieces from their fence. She was more than willing to let me take them off her hands,(pile in the side yard).
The hardest part of this project was figuring out how big I wanted the final project. When that was figured out I started sawing.
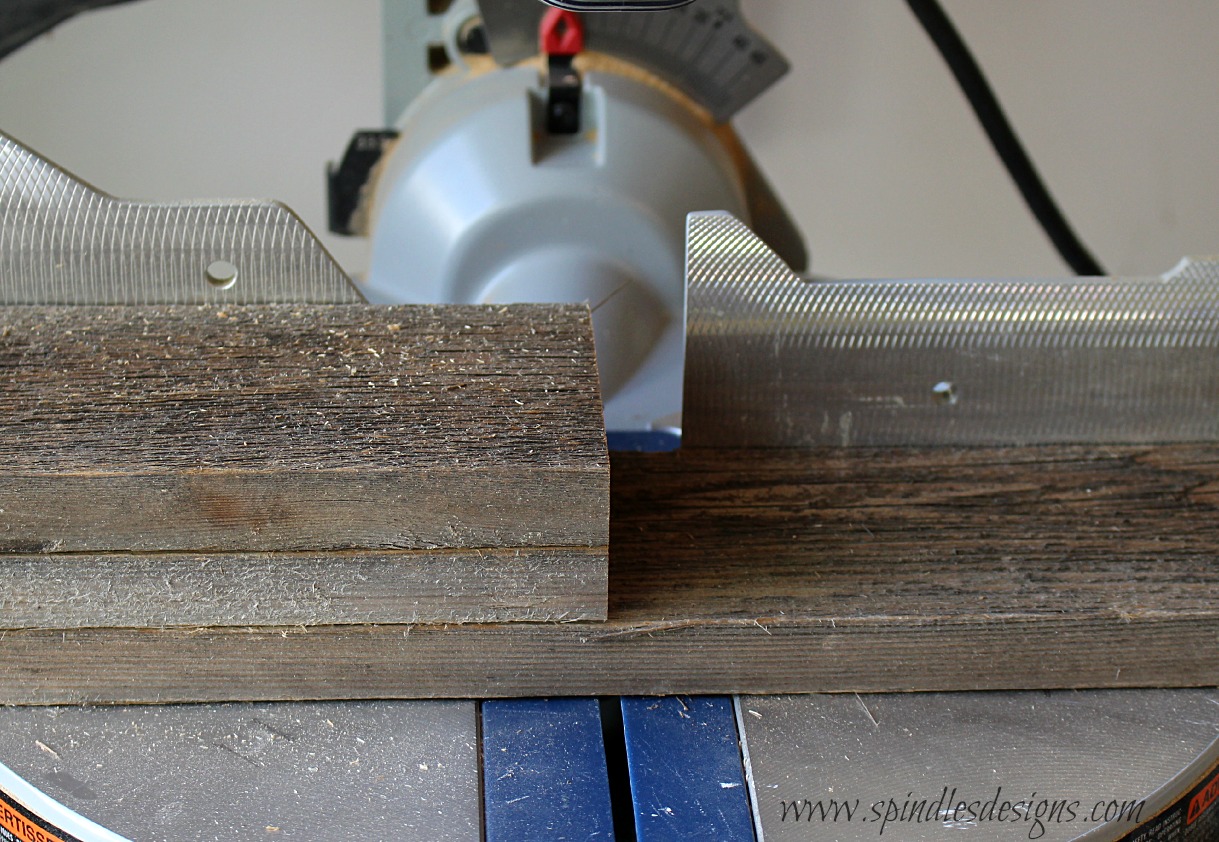
I needed 5 lengths to make it the size I wanted. After cutting and sanding just the rough top layer off it proved to be a great base layer for my frame.
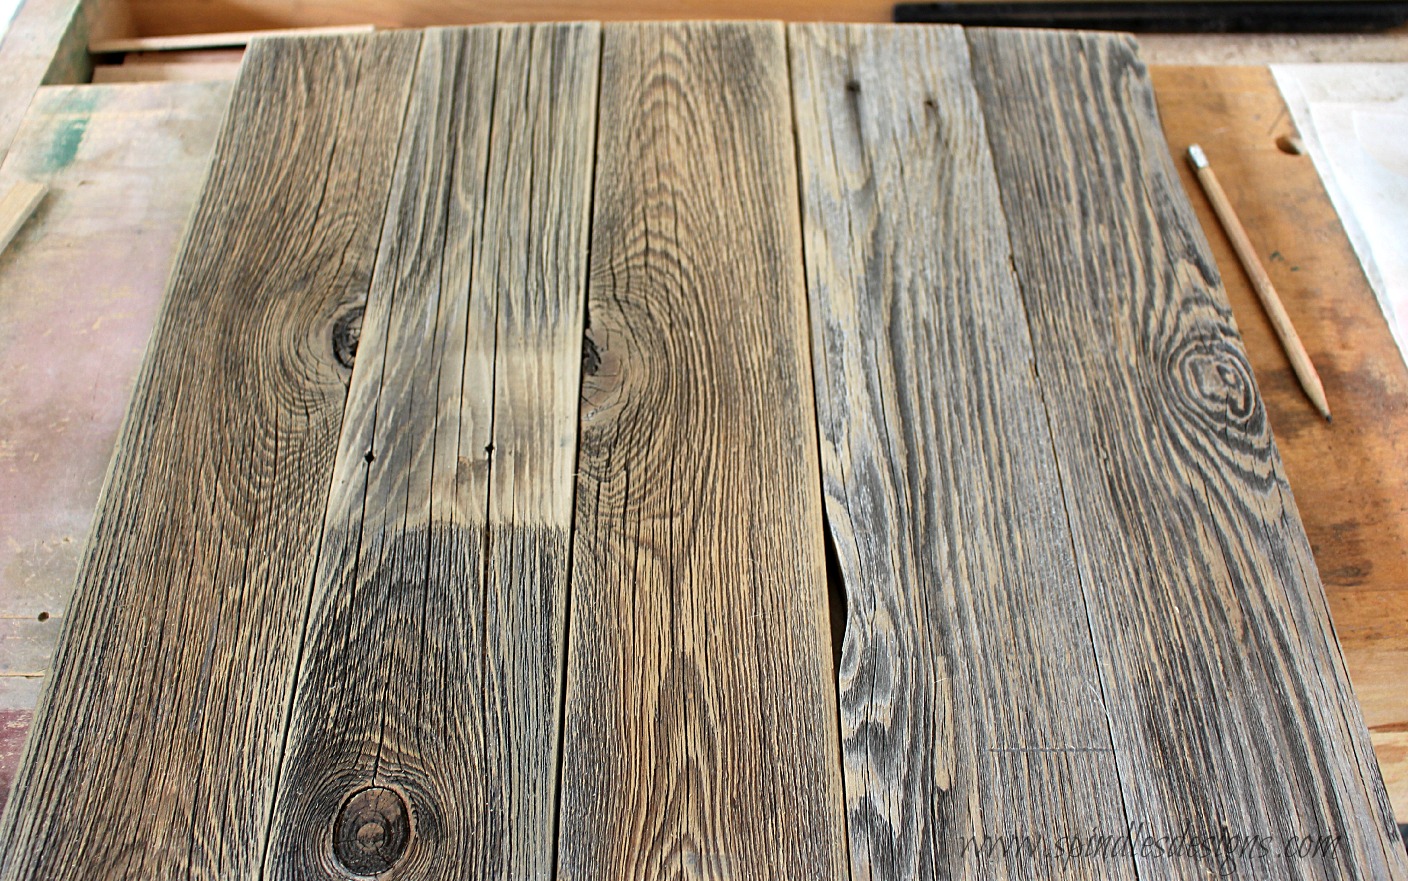
When the best sides were chosen and lined up they were connected and secured on the back side using a smaller piece of 1/8 inch plywood and short wood screws.
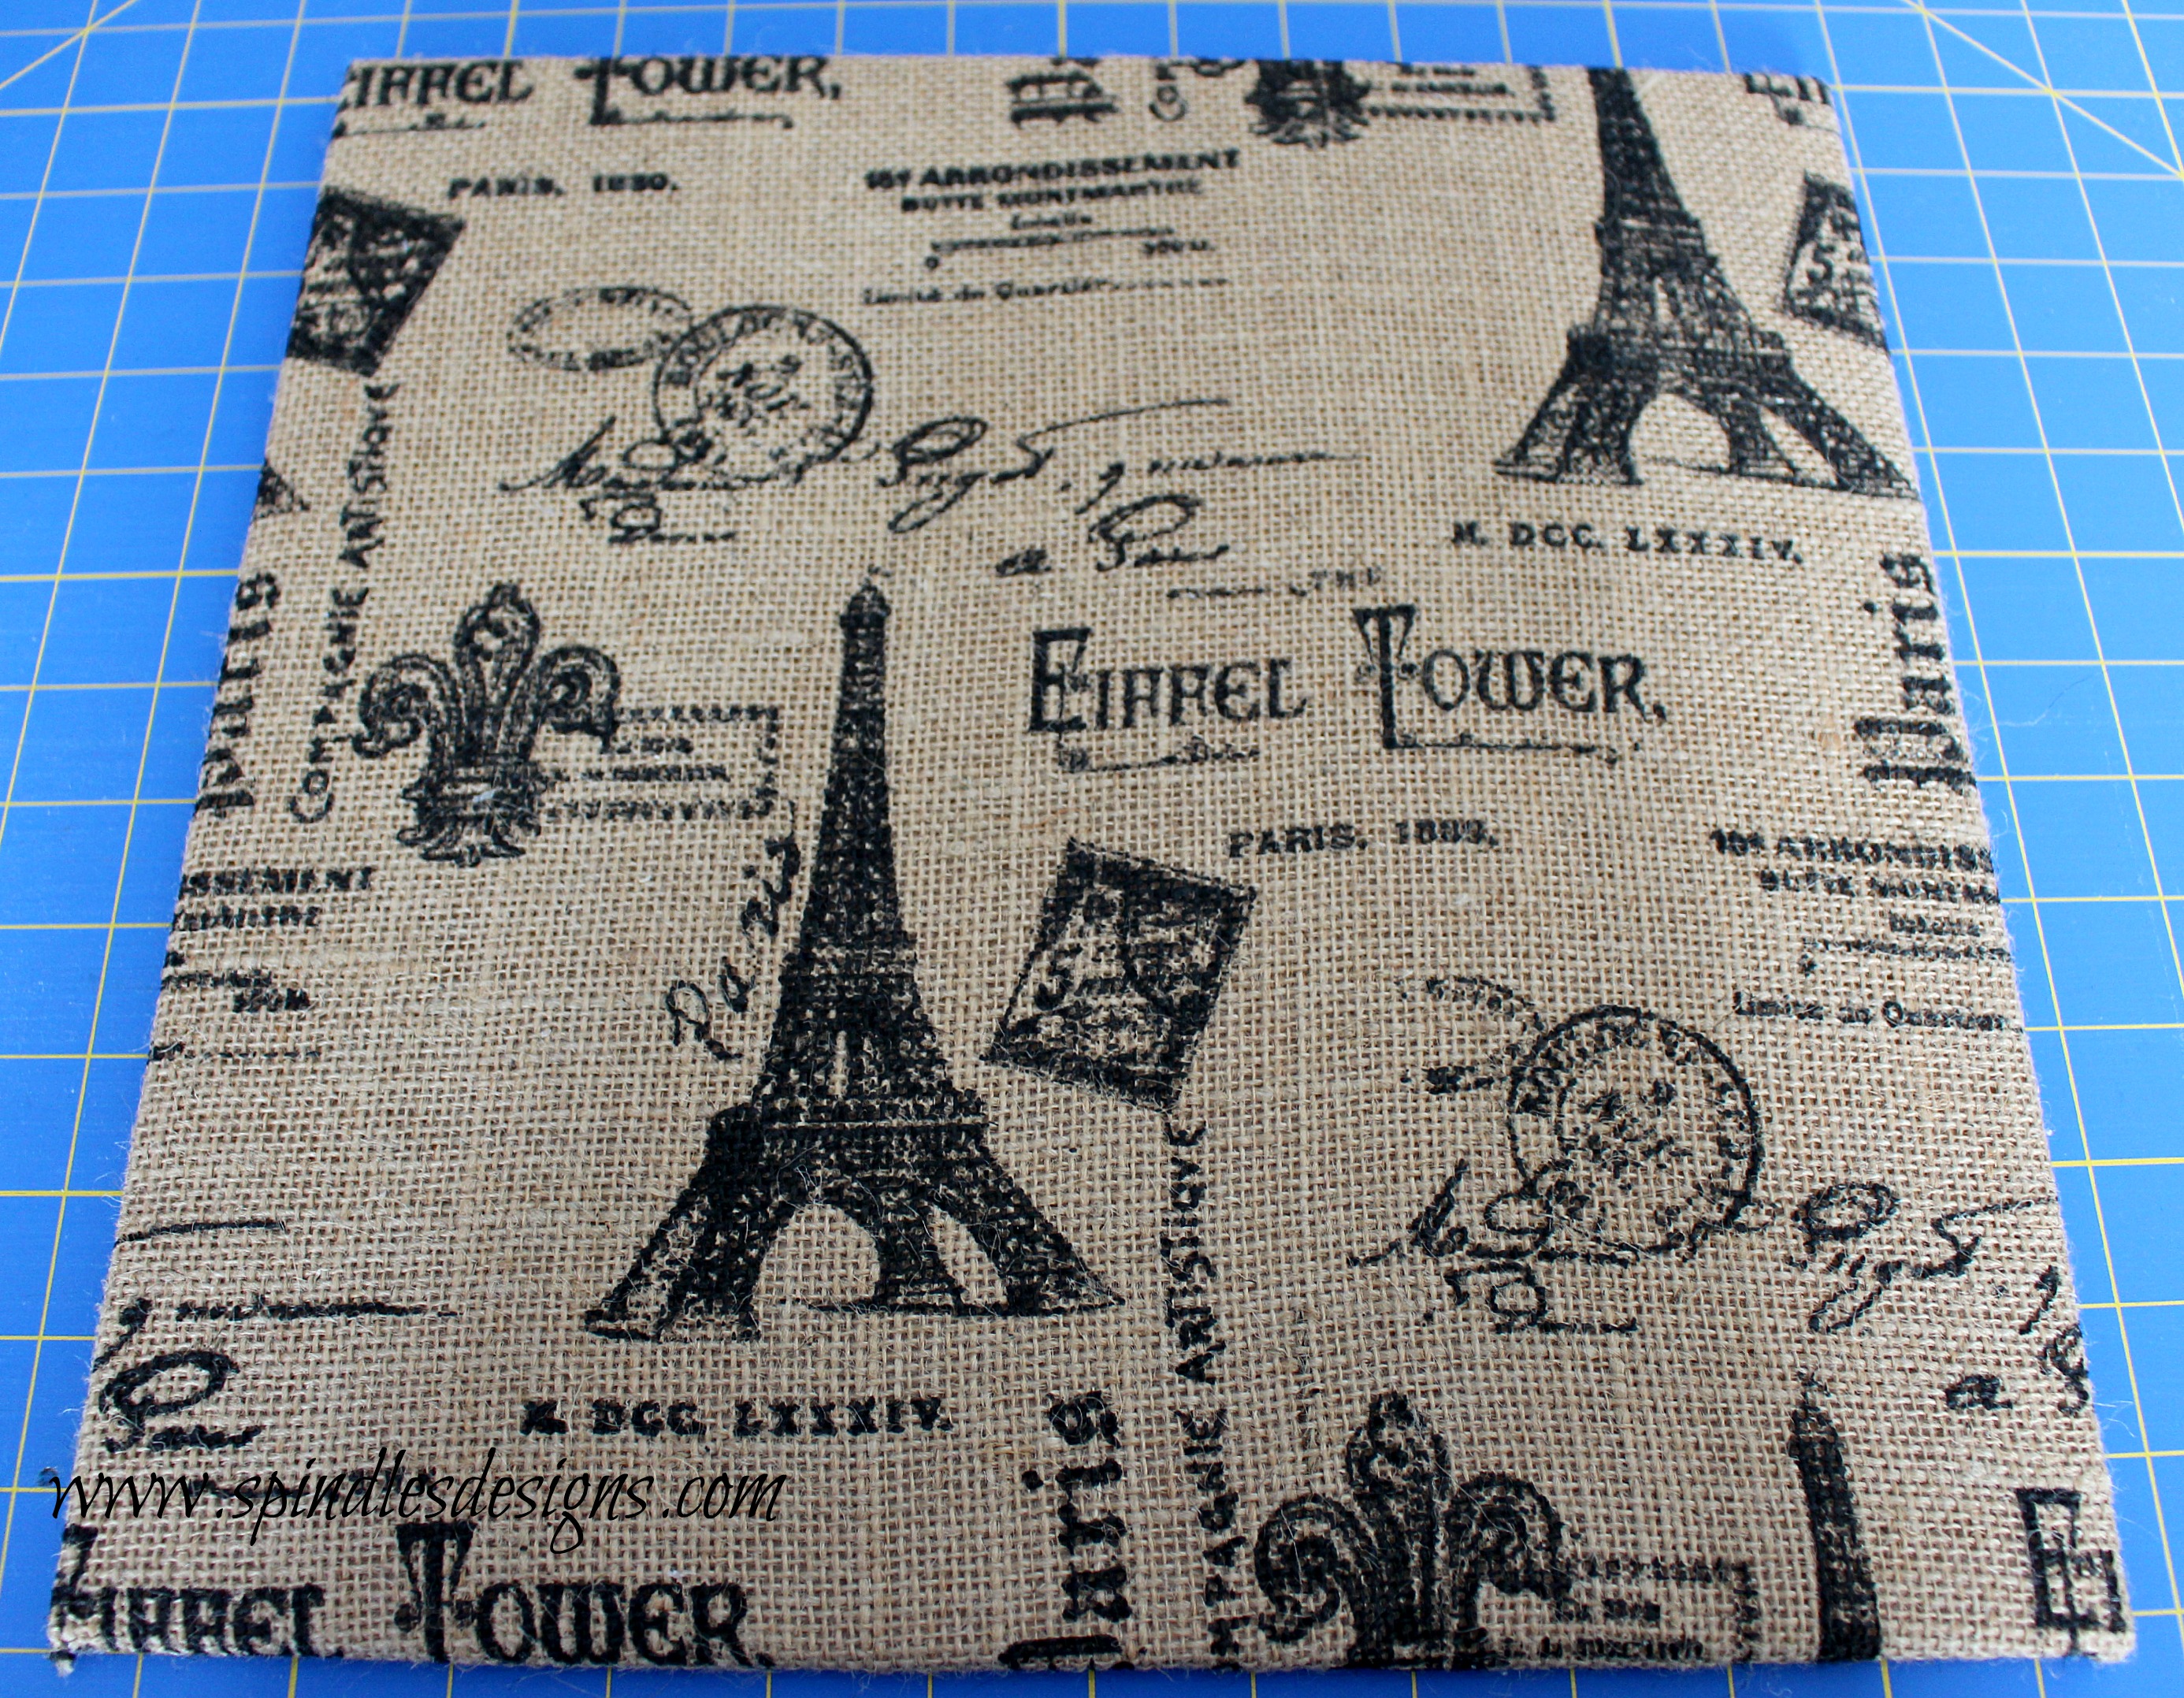
John and I chose a printed burlap for the next layer. I decided how wide the burlap mat should be and covered an 1/8″ piece of plywood using hot glue and then secured it through the front this time using 4 short wood screw placed strategically where the final picture would cover it.
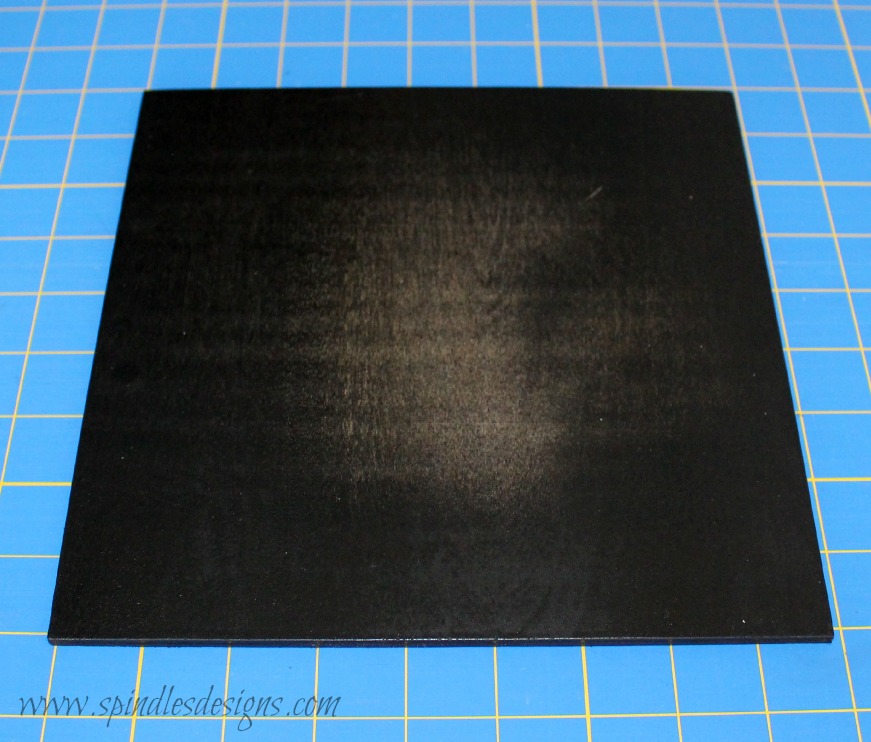
The final picture layer needed a small mat to set it off so the photo layer, another piece of 1/8″ plywood, was cut 1/2″ larger all the way around and spray painted black.
The photograph was centered and attached using double sided tape placed very close to all 4 sides and crosses through the center.

This layer was centered and hot glued to the burlap layer.

I chose to hang it with a wire but your favorite method of hanging can be used. Surprisingly enough it isn’t much heavier than a large framed photo with glass.
I love how it looks on my wall and wondered why it took me so long to fill that empty space.

I love this! Not just the layers, but the different textures as well. Thanks for giving me a great father’s day idea… – Jerusha, TheDisneyChef.com
Jerusha (TheDisneyChef.com) recently posted…Sweet Italian Chicken Sausage with Basil Polenta and Oven Roasted Tomatoes
Jerusha, thank you for your comment I didn’t even think of it for Father’s Day but what a great idea that is. I hope yours worked well.
Mary Ellen Stringham recently posted…Roast Pork Loin with Brown Sugar & Apple Juice
Great project! Love how it turned out 🙂
What a fantastic DIY project! The layered frame looks rustic and charming, and it’s amazing how you repurposed old wood from Margaret’s fence. The choice of burlap adds a unique texture, and the black mat really makes the photo pop. It’s a creative way to display memories, and I’m sure Margaret must be thrilled with the result. By the way, your attention to detail, from the careful selection of wood to the strategic placement of screws, is commendable. It’s always inspiring to see such personalized and meaningful artwork on display. And hey, why did it take you so long to fill that empty space? Sometimes, the best things are worth the wait. Great job! #hairextension
Thank you. It was a fun project.
Mary Ellen Stringham recently posted…A Free Pattern Vintage Bells