I always wanted to learn how to decorate cakes. My mom decorated a few cakes that I can remember when I was little, but she didn’t decorated every birthday cake. Well I wanted to make my son a special cake for is 4th birthday. He loved Thomas the train, but I didn’t think I could make him a great cake so I bought one. He loved it! I didn’t like the price. I knew I couldn’t do that the all the kids every birthday. So I started slowing… experimenting with different techniques. My first was the Color Book Page technique.
I read a lot of great blog posts on how to prepare a cake before decorating it, what kinds of frosting to use, following step-by-step instructions like in the Fish cake.
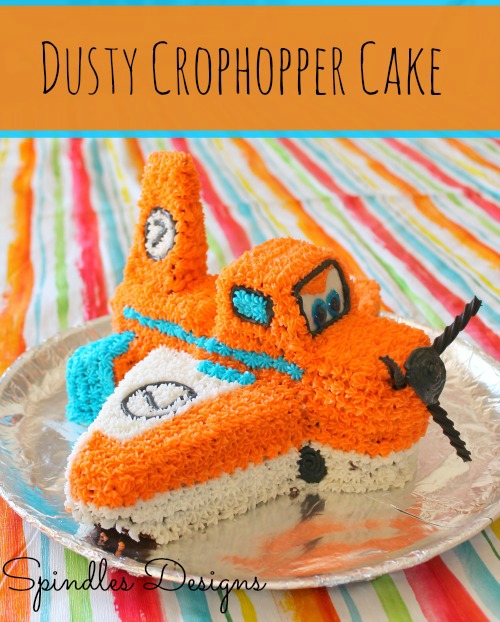
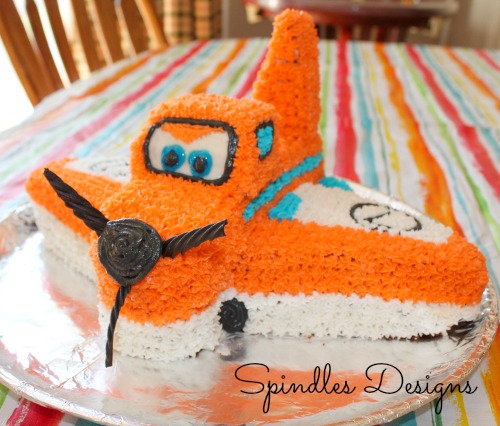
I was feeling pretty good about what I had learned so when my son told me he wanted a Dusty Crophopper cake. I decided to step it a little and try something new.
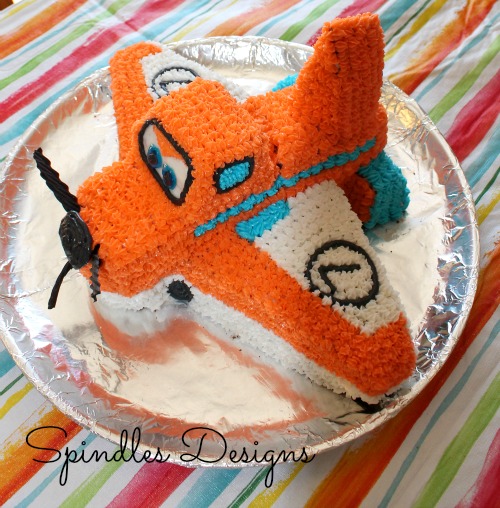
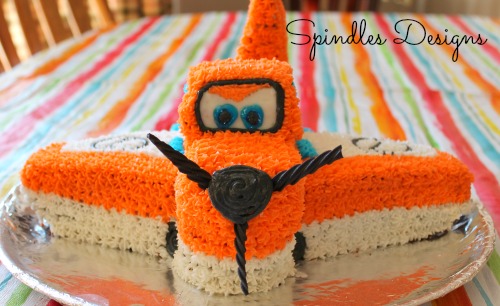
I love how Dusty turned out and so did my son. I almost didn’t what to cut the cake. I didn’t come up with this on my own however. I’m not that talented. I found a great video on YouTube. The video was very helpful on how to cut the cake to construct Dusty. I then used pictures of Dusty to help my frost him, since I used a different technique than in the video.
Have fun with you next cake!
Margaret
If you are new to Spindles Designs we would love for you to subscribe to our e-mail updates or follow us on Facebook, Pinterest, or Twitter.
You might also enjoy:
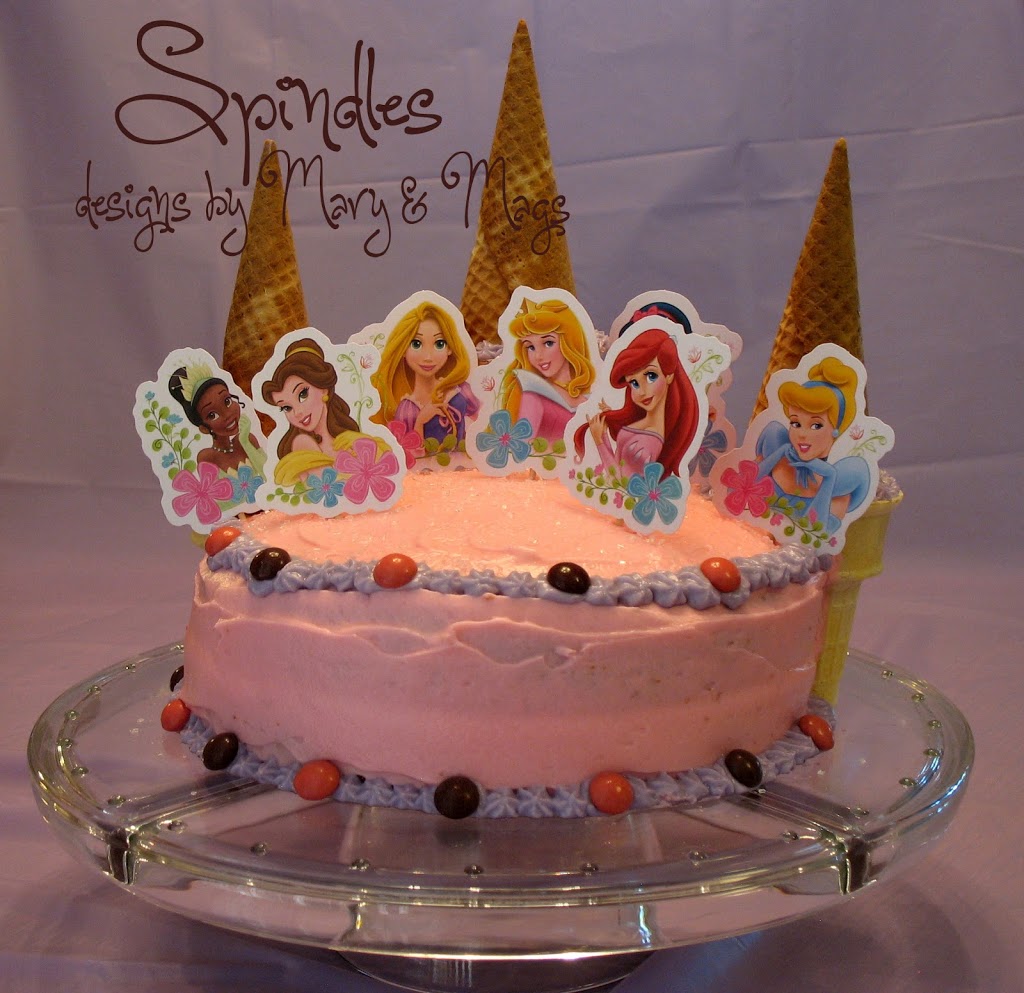 |
| Princess Cake |
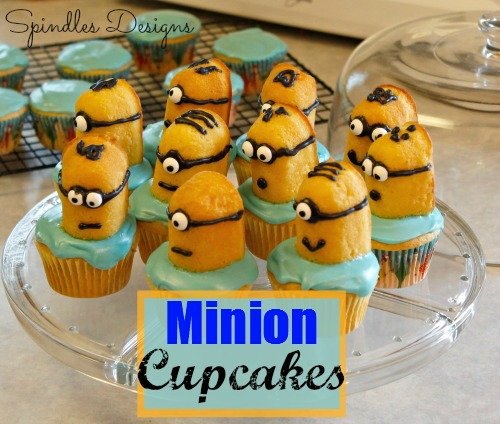 |
| Minion Cupcakes |


This cake is adorable! My son is big into Cars and he loved Planes too. I better not let him see this or he would want me to try to create one. 😉
It really wasn’t as hard as I thought it would be. Surprise him – give it a try.
I really wish I could make cakes like this! That looks awesome!!
-Jennie
http://www.thediaryofarealhousewife.blogspot.com/
I used to say that all the time. Start small it gets easier and it’s a lot of fun.
Dusty is so cute!! You should be very proud of yourself.
Thanks for linking up to Friday PinFest. Great to meet you!! I’ll follow your social media, too.
Thank you.
this is so pretty! Thanks so much for linking up with Handmade Tuesdays @ Ladybug Blessings
You are so welcome. Thank you for hosting a party every week for me to posts my crazy creations.
What a great looking cake. I have a few questions for you. Did you use orange food colouring or did you make your own colour? Also, what did you use to make the propellers? It looks like black liquorice but I’m wondering how you made it tapered at the ends. Thank you.
You did an amazing job! I’ve watched that YouTube video over and over for the past few months and had decided there’s no way I could pull it off. I stumbled upon your blog while looking for other alternatives. I still don’t know that I can create anything like this, but I do have a better understanding after seeing yours. I may be too late asking, but do you have any tips for cutting the other pieces to build dusty up? Do you just eye ball it or did you measure? I’m also nervous about getting the tail to stay up. Again, wonderful job!
I mostly eye balled it like in the video. I did use her toothpick tip – find halfway and half of that. When you have the cake in front of you it is a little easier. I was nervous about the tail too. So I put tooth picks in it for stability. Then I put some more in because it wobbled a little. When it was time to cut the cake I was double checking to make sure no one got a toothpick. I hope that helps. Good luck!
Hi! I’d love to make this cake for my son’s upcoming 3rd birthday, but I’m a bit confused. In the video she says to bake 2 cake mixes in 1 9×13″ pan, but I’m sure that won’t fit in any 9×13″ pan I’ve ever seen. Did you just use 1 cake mix and 1 9×13″ pan? I appreciate your help! 🙂
Yes, 1 cake mix and 1 9×13 pan. I hope your son loves it – good luck.
This cake looks awesome! Great job! How much frosting did you use to decorate the cake?
Thank you for your photos! And the links to that YouTube video!!! I made it, turned out amazing, my son loved it!!! It was so helpful to see all the sides of your cake so thank you for that, I frosted mine like you did, and for anyone else out there it’s really not that hard! Preparing myself to cut into my perfectly baked cake was the hardest part! Well done and thank you again!
Thank you for letting me know. I’m so glad the pictures were helpful.
I love this! Hoping to make it for my son next week!
Have fun! Let me know how it turns out.
Finished product came out AMAZING! Thank you!!