
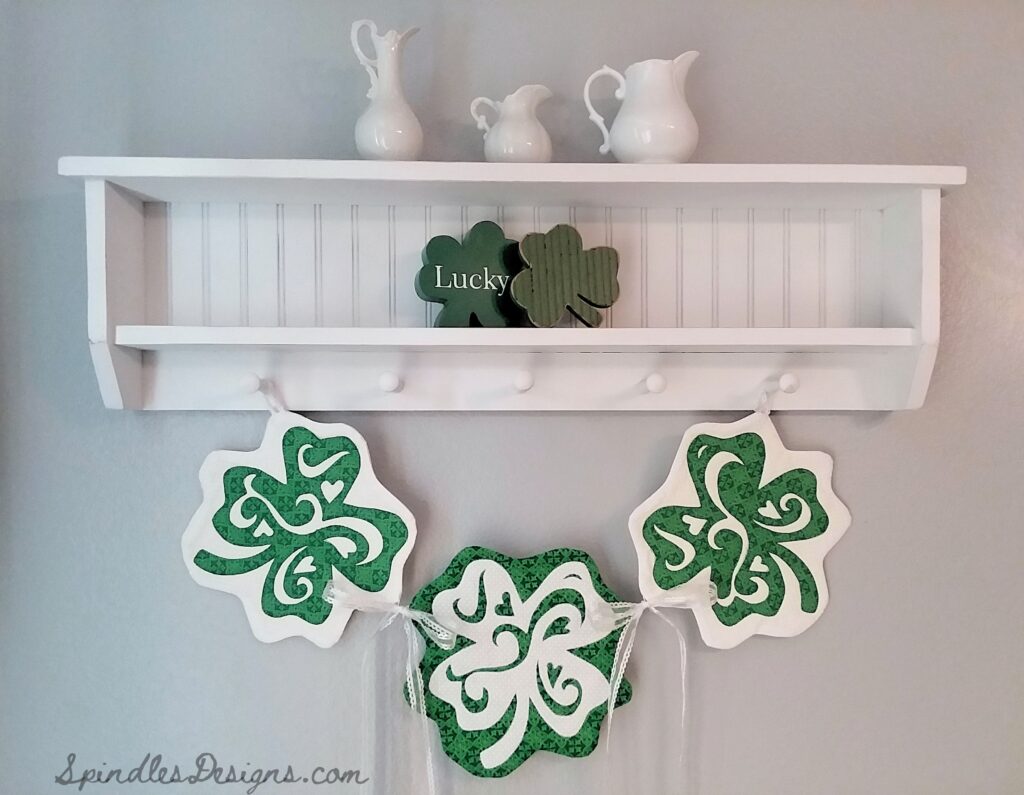
February’s free pattern is here. I hope this Shamrock Banner Pattern helps get you ready for St. Patrick’s Day. My kids love to help me decorate for holidays. They print coloring pages and craft projects from the computer and hang them on their bedroom doors. Well I like to print patterns from the computer too, so I thought you might too. My projects usually are just a little more complex than coloring. That’s what makes them so much fun!
Every year its nice to add something new. You know, because things get old and you get tired of them – well really I’m probably just finishing up something I didn’t get done last year, because there is just never enough time. There’s always something new to make. I hope because we’re publishing this post now that you’ll have time to get your banner done before March 17. If not no worries there’s always next year.
Decorative banner’s can go anywhere: book shelves, entry ways, doors, over curtains, walls, decorative shelves, lights, pianos, bunk beds, bathrooms… see anywhere. Have fun!
I hope the pictures help and don’t scare you away. It really is fun to make!
Supplies
Green Fabric – ⅔ yard
White Fabric – ⅔ yard
White Ribbon – 3 yards
Batting – 20 x 24
Heat and Bond – ⅔ yard
Matching Green and White Thread for Applique
Cut
White Fabric 4 – 11” x 11”
Green Fabric 2 – 11” x 11”
White Ribbon 4 – 24”, 2 – 4”
Batting 3 11” x 11”
Shamrock Banner Pattern Instructions
- Print your free pattern. Tape pattern for background piece together matching lines.
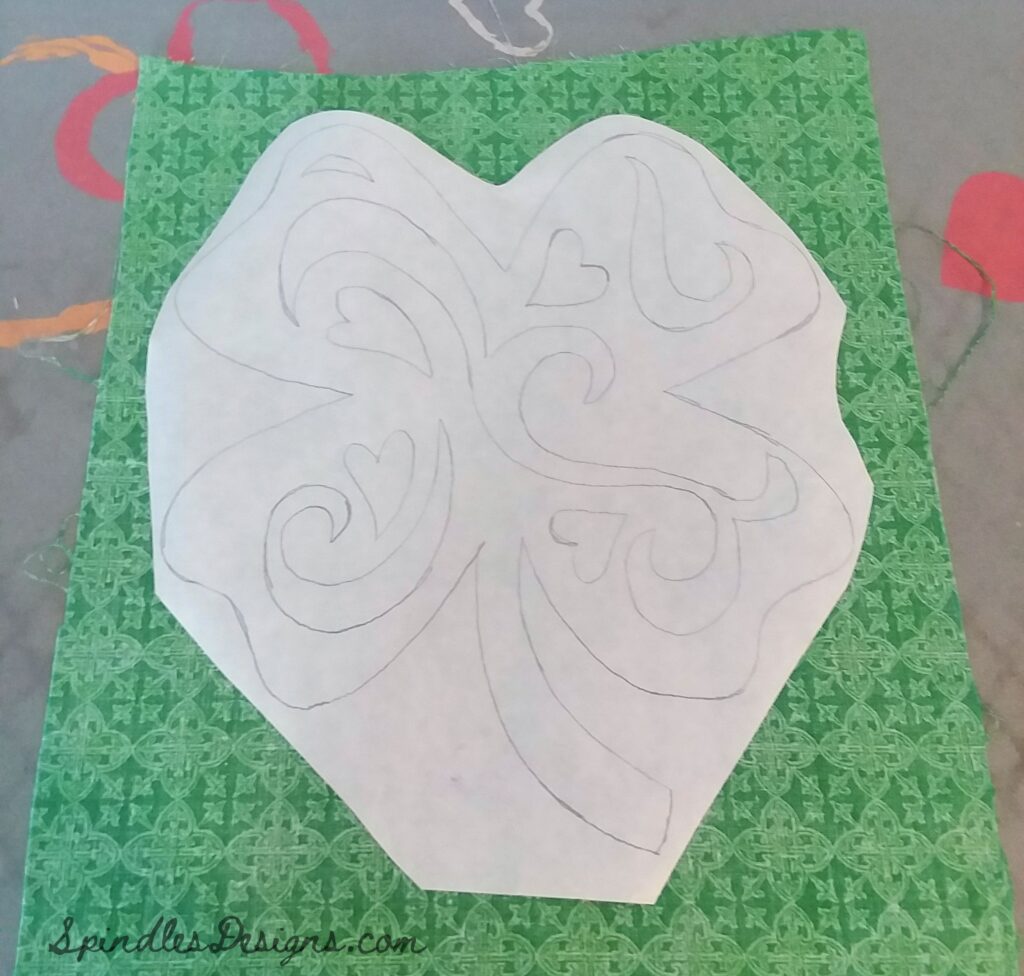
- Trace 3 Shamrocks onto Heat and Bond. Remember to include the shapes inside the Shamrocks. Cut out leaving at least ¼” around traced lines.
- Iron 2 onto Green Fabric. Iron 1 onto White Fabric.
- Cut out all shapes.
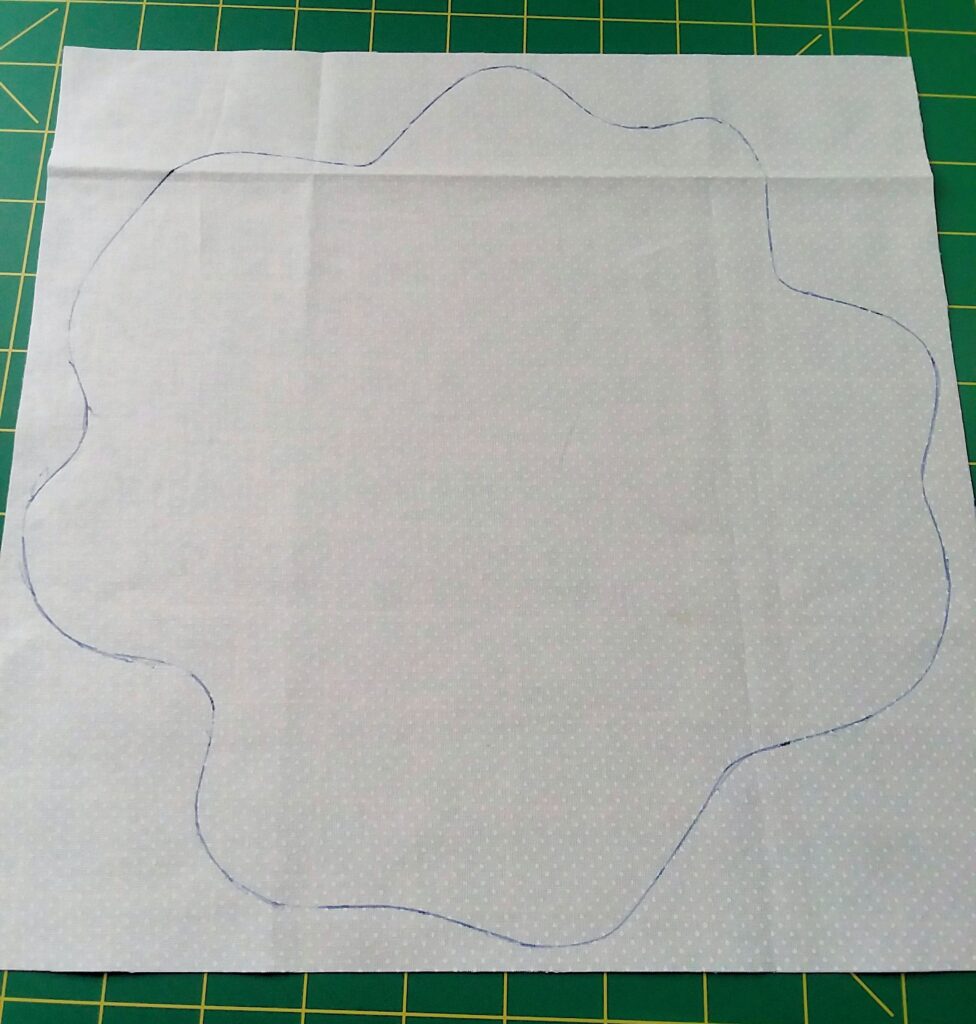
- Cut out background shape pattern.
- Trace onto green and white 11” x 11” pieces.
- Cut out 2 white background pieces and 1 green background piece.
- Iron Green Shamrocks onto White Background and White Shamrock onto Green Background.
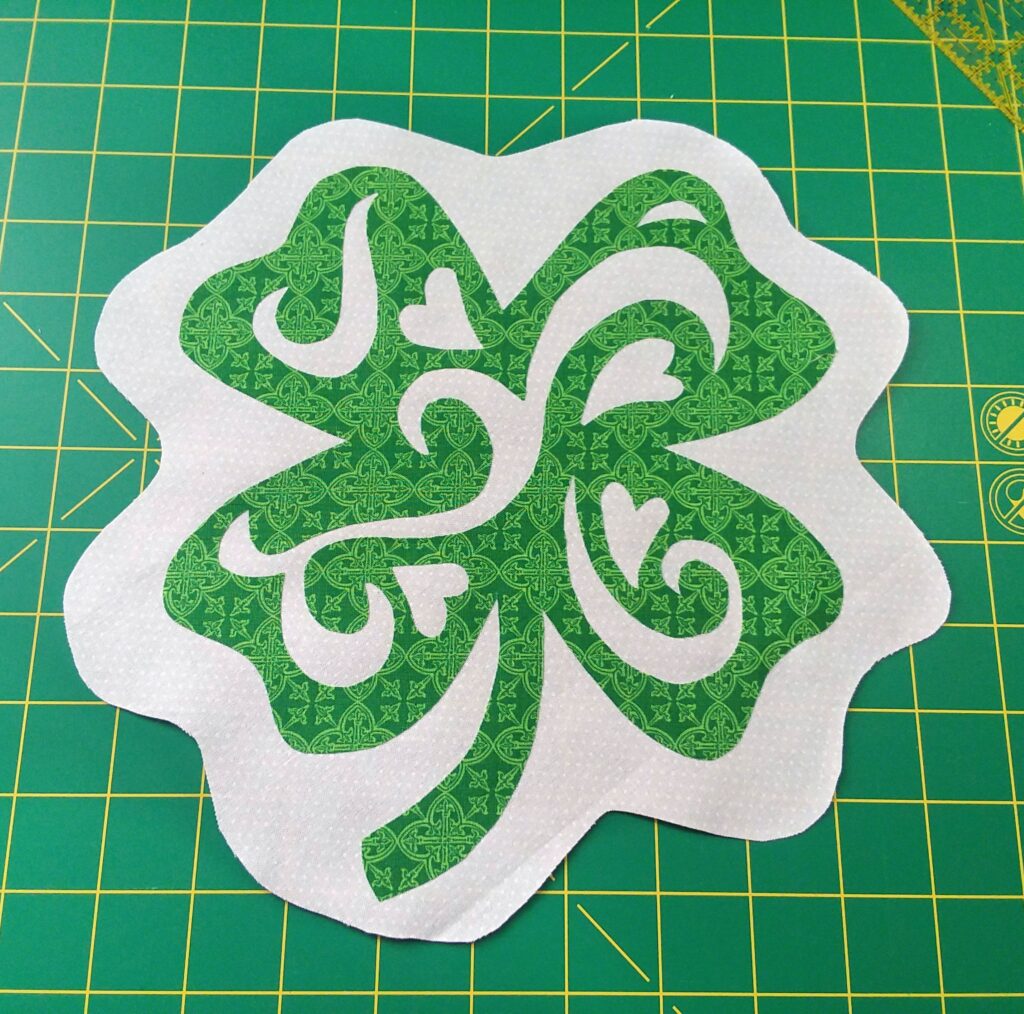
- Hand or Machine applique around the Shamrocks and the inside shapes.
- Pin Ribbon to Shamrocks.
- Fold 4” pieces in half and pin on white background pieces for the hangers.
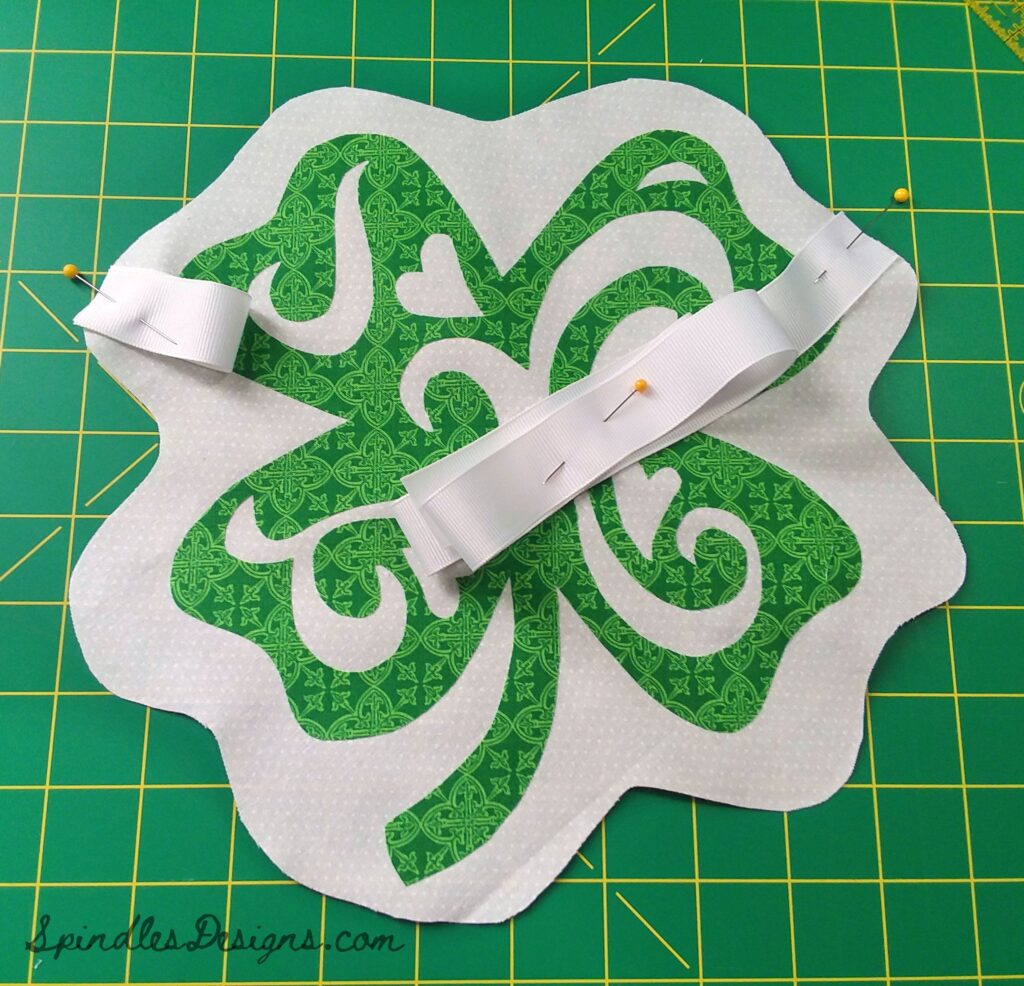
- Pin 24” long pieces for the ties. Pin out of the way of stitching line.
- Layer Batting, backing (right side up), Shamrock (face down).
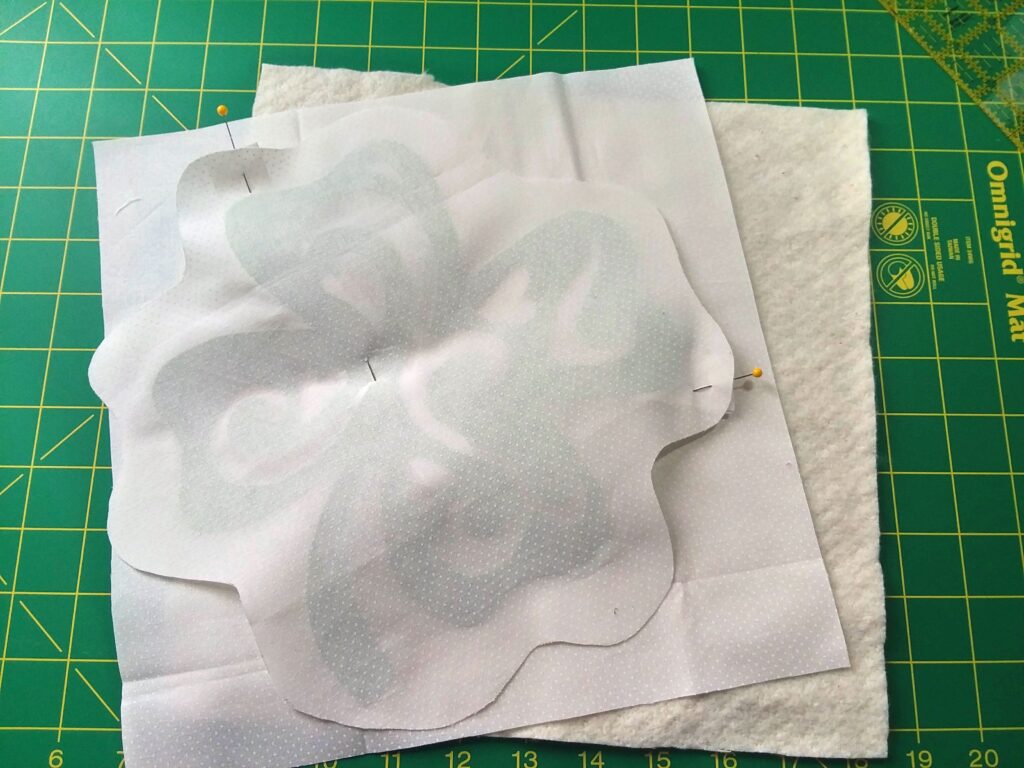
- Pin and sew a ¼” around background shape. Leave an opening for turning.
- Cut out leaving a ¼” around stitching.
- Turn right side out. Iron.
- Stitch up opening with whip stitch.
- Quilt around the Shamrock if you want to. (hint: a little quilting makes it hang a little better)
- Tie ribbons into bows. Trim to desired length.
- Hang and enjoy!

Enjoy!
Margaret
If you like making banners like this you might like our Star Banner.