

A Helpful Tip Guide For “Harvest Time” table runner.

In this post, I’ll walk you step by step through some helpful tips for machine appliqué using a blanket stitch, from prep to pressing, specifically with our Harvest Time pattern in mind. Whether you’re just getting started with appliqué or already have some experience and want to refine your technique, this guide will help you stitch with confidence and, most importantly, enjoy the process.
Overall, machine appliqué is a fun and creative way to add personality to your quilting and sewing projects. In particular, using a blanket stitch gives your appliqué a charming, hand-finished look—while still saving time compared to hand stitching. 🍂🧵
✂️ Supplies You’ll Need:
- Applique or Quilting Pattern (Harvest Time Table Runner is our example)
- Fabric for your background and appliqué
- Lightweight fusible web (I like HeatnBond Lite)
- Sharp scissors
- Iron and ironing board
- Sewing machine with blanket stitch
- Coordinating thread or contrasting, for a bold look (I went with Black thread this time)
- Appliqué silicone fusing mat (this is a must for me it is so helpful. (Here’s a link to one similar to mine.)
📌 Step-by-Step
1. Trace and Fuse Your Design
- Trace your appliqué shapes in reverse onto the paper side of the fusible web. (a lot of patterns will already reverse the pattern for you. We did.)
- Cut out the shapes roughly (not on the lines yet).
- Fuse the web to the wrong side of your appliqué fabric using a dry iron.
- Cut precisely along the traced lines.
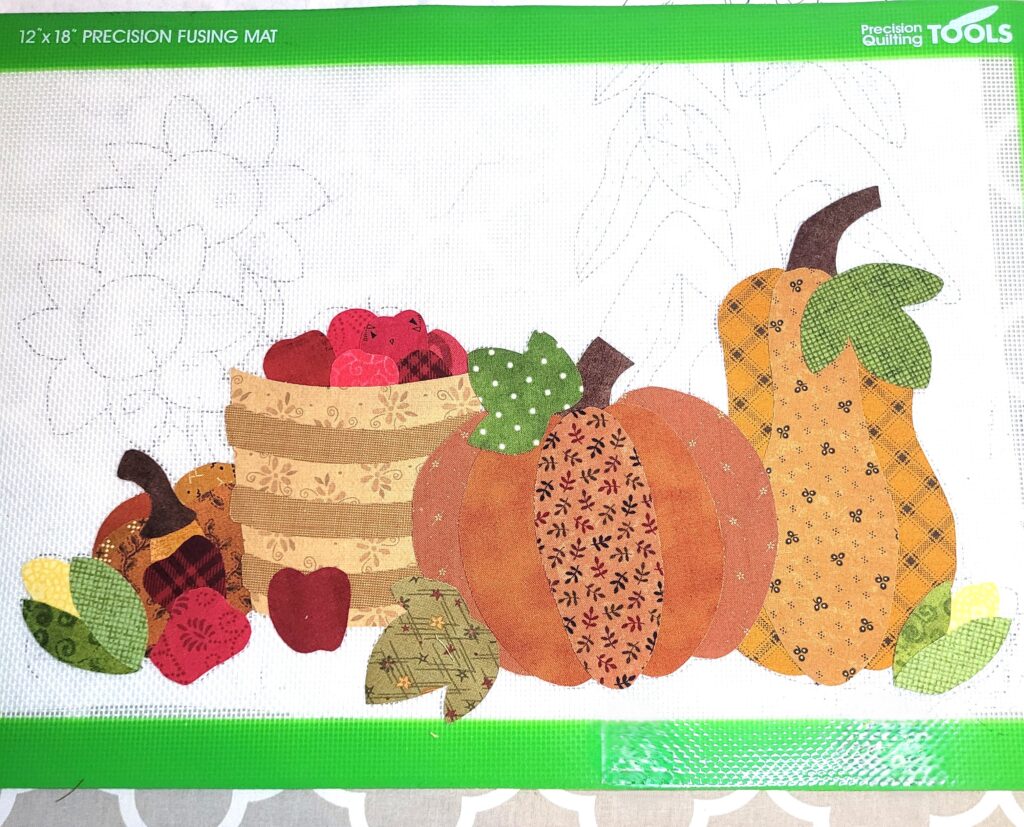
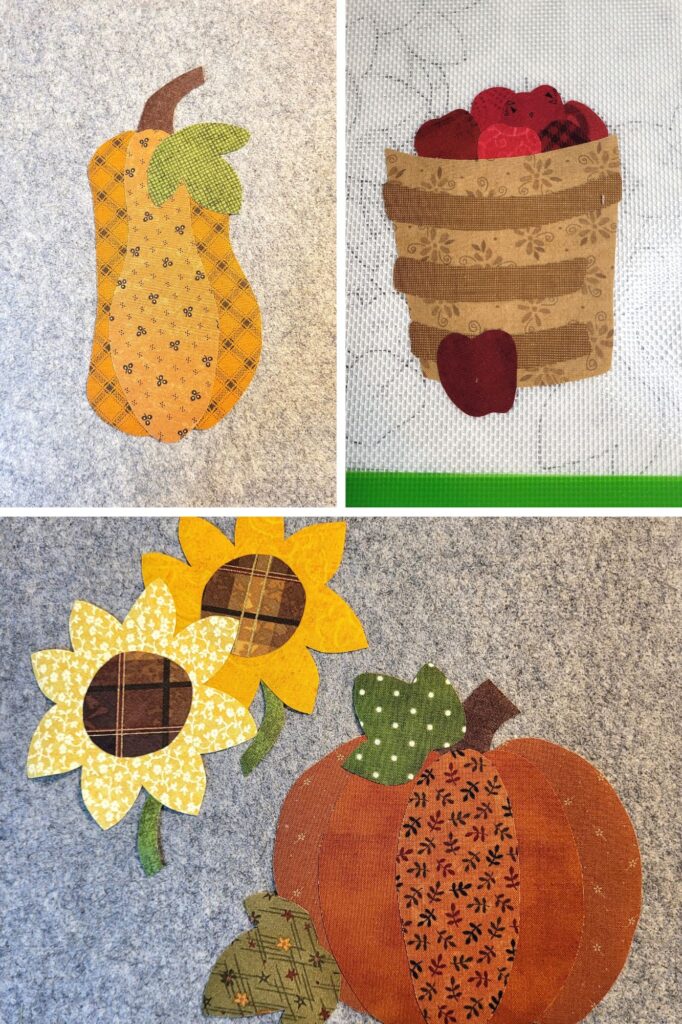
2. Position Your Appliqué
- Peel off the paper backing and position your appliqué pieces on the silicone fusing mat.
- Fuse in place according to the fusible web instructions.
- Work in small sections
- Peel off fused applique pieces when your ready to place them on the table runner.
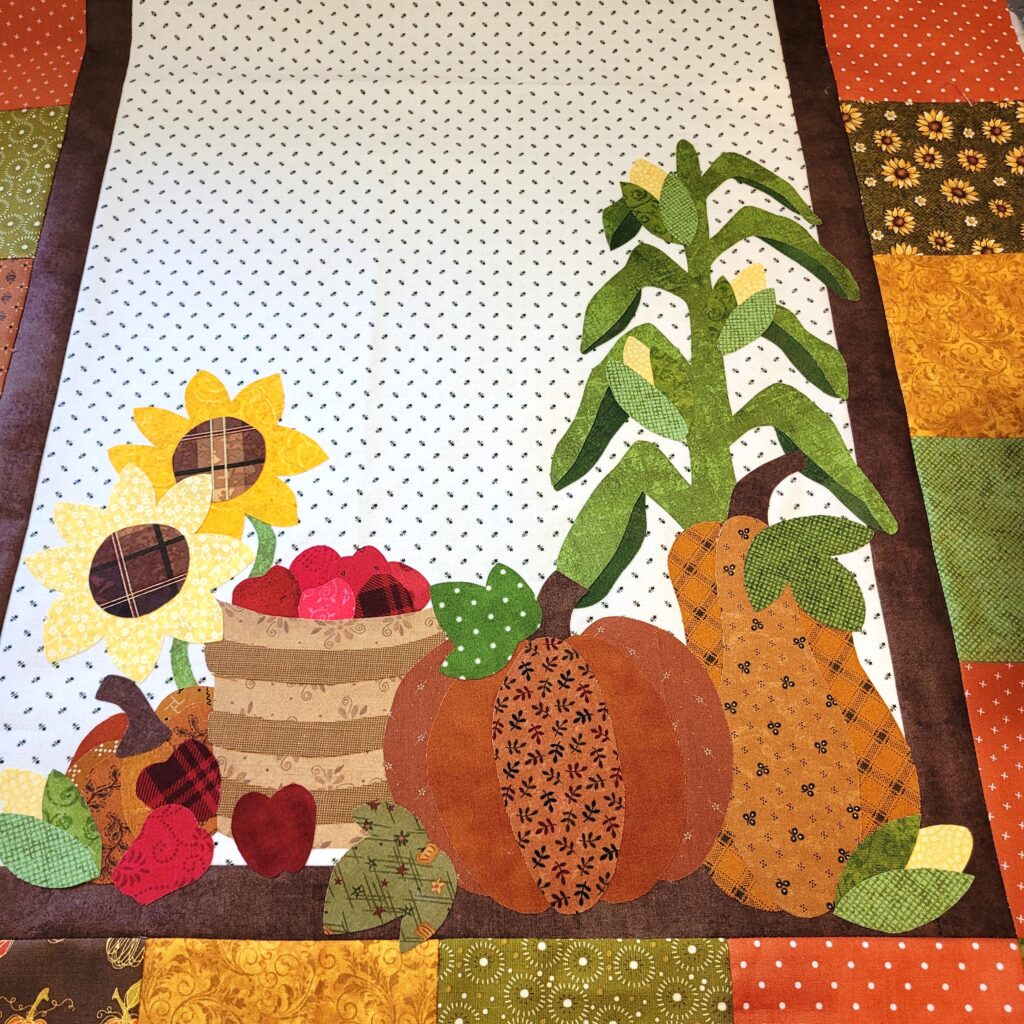
3. Iron to Table Runner
- Place appliqué pieces where you think they look best. Use the pattern layout as a guide, but don’t be afraid to adjust spacing or angles slightly to suit your fabric choices and personal style.
- Work on only one side of the runner at a time. This helps keep the project manageable and prevents unnecessary handling of already-stitched areas.
- If an appliqué piece comes detached, simply iron it back down. This can happen as you reposition fabric—just re-fuse it and continue stitching.
4. Start Blanket Stitchin
🧵 What is a Blanket Stitch?
A blanket stitch is a decorative stitch that forms a straight line with perpendicular “bites” into the appliqué shape—great for securing raw edges while adding a lovely, finished look. It’s also my favorite applique stitch.
Most sewing machines come with a built-in blanket stitch—check your manual for the correct stitch number or symbol.
- Keep the straight stitches running along the outer edge of your appliqué shape.
- The “bite” of the stitch should land into the shape.
- Go slow around curves—pivot carefully on the straight stich.
5. Finishing Up
- Backstitch at the end and pull threads to the back and tie off for a cleaner finish.
- Press your piece flat from the back or with a pressing cloth to avoid flattening the stitches.
🌟 Tips for Success
- Practice first on a scrap sandwich to get your stitch settings just right.
- Use open-toe or appliqué foot for better visibility.
- Smaller shapes = smaller stitch width for neatness.
- Don’t rush—smooth, slow stitching creates the cleanest edge.
🎨 Ready to Try It?

Enjoy!!
Margaret
Leave a Reply